


Incorporating a water flosser into your daily oral hygiene routine can significantly enhance your dental health, but knowing how to use one effectively might seem daunting at first. This beginner's guide will provide you with all the essential information to get started with a water flosser, ensuring you maximize its benefits for cleaner teeth and healthier gums.
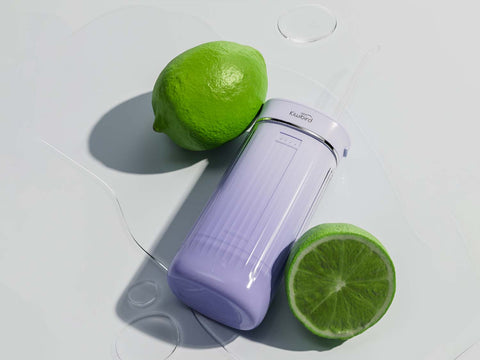
What is a Water Flosser?
A water flosser, also known as an oral irrigator, is a device that uses a stream of pulsating water to remove food particles, plaque, and bacteria from between your teeth and below the gumline—areas often missed by traditional brushing. It’s an excellent tool for improving gum health and is particularly beneficial for people with braces, implants, crowns, or periodontal issues.
Choosing the Right Water Flosser
When selecting a water flosser, consider the following features:
- Adjustable Pressure Settings: This allows you to control the intensity of the water jet to suit your sensitivity and needs.
- Multiple Jet Tips: Different tips can be used by various family members or for specific applications like cleaning around braces or below the gumline.
- Cordless vs. Countertop: Cordless models offer convenience and portability, ideal for smaller bathrooms or travel, while countertop models typically have larger water reservoirs for extended use.
Setting Up Your Water Flosser
- Fill the Reservoir: Use warm water for comfort, especially if you have sensitive teeth or gums.
- Select the Right Tip: Attach the appropriate tip for your needs. Most models come with a standard tip, but specialized tips are available for specific dental work.
- Adjust the Pressure: Start with the lowest setting and adjust as needed. High pressure is not always necessary; gentle pressure is often enough to effectively clean the teeth and gums.
How to Use a Water Flosser
- Lean Over the Sink: Place the tip in your mouth, close your lips slightly to avoid splashing, and lean over the sink.
- Turn On the Device: Begin with the lowest pressure setting, and increase as comfortable. Aim the tip at a 90-degree angle to the teeth, starting from the back and moving towards the front of your mouth.
- Clean Between Teeth and Along the Gumline: Guide the tip along the gumline and between each tooth. Pause briefly between teeth to allow the water to flush out any debris.
- Drain and Dry: After use, empty the water reservoir and allow the flosser and tips to air dry to prevent mold growth.
Tips for Effective Water Flossing
- Use Daily: For best results, incorporate water flossing into your daily oral hygiene routine.
- Be Thorough: Spend at least one minute flossing to ensure all areas are covered.
- Combine with Traditional Brushing: While a water flosser is effective at cleaning between teeth and along the gumline, it should complement, not replace, traditional brushing with a toothbrush and toothpaste.
Conclusion
A water flosser can be a fantastic addition to your oral hygiene regimen, offering an efficient and easy way to enhance dental health. With the ability to clean areas that are difficult to reach with traditional flossing methods, water flossers can help reduce the risk of decay and gum disease, particularly for those with dental appliances or sensitivity issues. By following this guide, beginners can confidently use a water flosser to achieve and maintain a healthier, cleaner mouth.