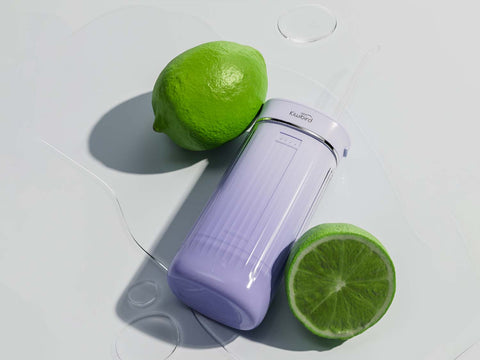
Incorporar un irrigador bucal a su rutina diaria de higiene bucal puede mejorar significativamente su salud dental, pero saber cómo usarlo de manera efectiva puede parecer abrumador al principio. Esta guía para principiantes le brindará toda la información esencial para comenzar a usar un irrigador bucal, lo que le permitirá maximizar sus beneficios para tener dientes más limpios y encías más sanas.
¿Qué es un irrigador bucal?
Un irrigador bucal, también conocido como hilo dental, es un dispositivo que utiliza un chorro de agua pulsante para eliminar partículas de comida, placa y bacterias de entre los dientes y debajo de la línea de las encías, áreas que el cepillado tradicional suele dejar pasar. Es una herramienta excelente para mejorar la salud de las encías y es especialmente beneficiosa para personas con aparatos de ortodoncia, implantes, coronas o problemas periodontales.
Cómo elegir el irrigador bucal adecuado
Al seleccionar un irrigador bucal, tenga en cuenta las siguientes características:
- Configuraciones de presión ajustables: Esto le permite controlar la intensidad del chorro de agua para adaptarlo a su sensibilidad y necesidades.
- Consejos para varios jets: Se pueden utilizar diferentes consejos según el miembro de la familia o para aplicaciones específicas, como limpiar alrededor de los aparatos ortopédicos o debajo de la línea de las encías.
- Inalámbrico vs. de encimera: Los modelos inalámbricos ofrecen comodidad y portabilidad, ideales para baños pequeños o para viajes, mientras que los modelos de encimera suelen tener depósitos de agua más grandes para un uso prolongado.
Configuración de su irrigador bucal
- Llene el depósito: Utilice agua tibia para mayor comodidad, especialmente si tiene dientes o encías sensibles.
- Seleccione la punta adecuada: Coloque la punta adecuada a sus necesidades. La mayoría de los modelos vienen con una punta estándar, pero hay puntas especializadas disponibles para trabajos dentales específicos.
- Ajuste la presión: Comience con la configuración más baja y ajústela según sea necesario. No siempre es necesaria una presión alta; una presión suave suele ser suficiente para limpiar eficazmente los dientes y las encías.
Cómo utilizar un irrigador bucal
- Inclínese sobre el fregadero: Coloca la punta en tu boca, cierra ligeramente los labios para evitar salpicaduras e inclínate sobre el lavabo.
- Encienda el dispositivo: Comience con la presión más baja y aumente hasta que se sienta cómodo. Oriente la punta en un ángulo de 90 grados con respecto a los dientes, comenzando desde atrás y avanzando hacia el frente de la boca.
- Limpieza entre los dientes y a lo largo de la línea de las encías: Pase la punta por la línea de las encías y entre cada diente. Haga una breve pausa entre los dientes para permitir que el agua elimine los residuos.
- Escurrir y secar: Después de su uso, vacíe el depósito de agua y deje que el hilo dental y las puntas se sequen al aire para evitar la aparición de moho.
Consejos para un uso eficaz del hilo dental con agua
- Uso diario: Para obtener mejores resultados, incorpore el uso de hilo dental con agua a su rutina diaria de higiene bucal.
- Sea minucioso: Dedique al menos un minuto a usar hilo dental para asegurarse de cubrir todas las áreas.
- Combinar con el cepillado tradicional: Si bien un irrigador bucal es eficaz para limpiar entre los dientes y a lo largo de la línea de las encías, debe complementar, no reemplazar, el cepillado tradicional con cepillo de dientes y pasta de dientes.
Conclusión
Un irrigador bucal puede ser un fantástico complemento a su régimen de higiene bucal, ya que ofrece una forma eficaz y sencilla de mejorar la salud dental. Gracias a la capacidad de limpiar zonas a las que es difícil llegar con los métodos tradicionales de uso del hilo dental, los irrigadores bucales pueden ayudar a reducir el riesgo de caries y enfermedades de las encías, en particular en el caso de personas con aparatos dentales o problemas de sensibilidad. Si sigue esta guía, los principiantes podrán utilizar con confianza un irrigador bucal para lograr y mantener una boca más sana y limpia.


